
Dry lining vs plastering: which does your wall actually need?

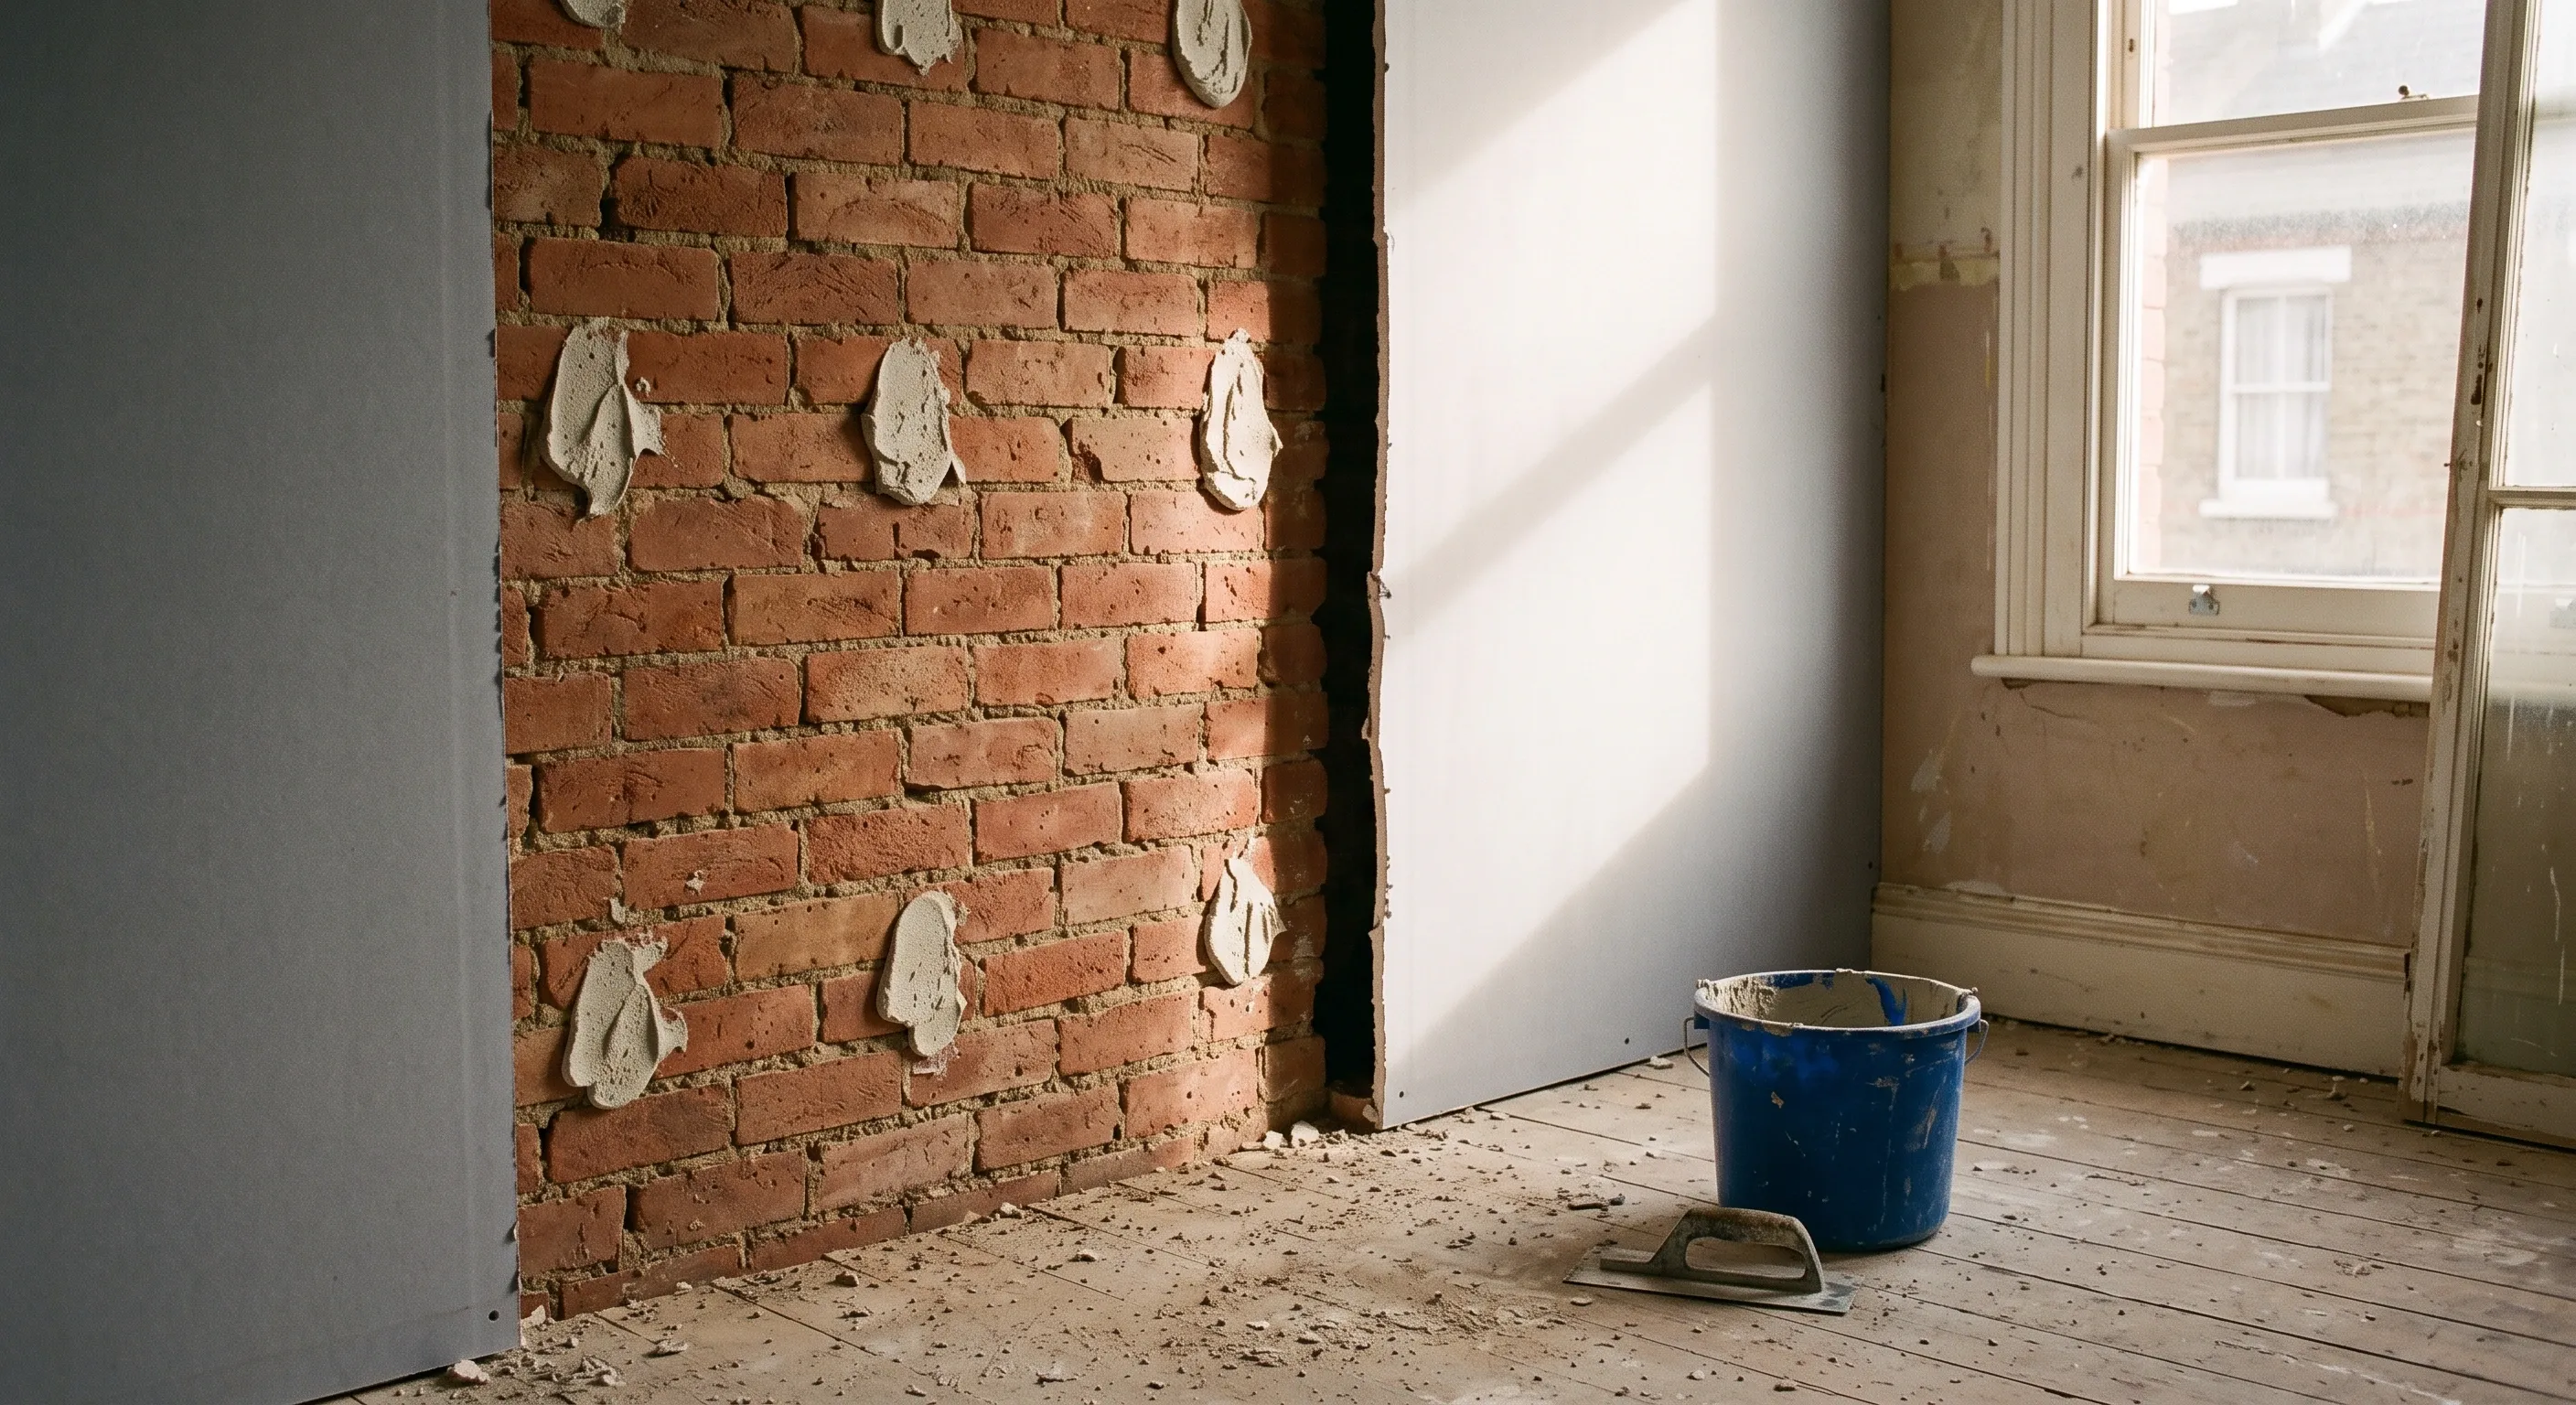
Your wall construction decides this, not speed or cost. On cavity walls and new blockwork, dot and dab dry lining is the right call. On pre-1920 solid brick it often isn't, because the void behind the board creates cold bridging and dark patching. On sound lath and plaster, wet plaster usually wins.
Almost every guide on this subject says the same two things: dry lining is faster, dry lining is cheaper. Both are true on a modern blockwork wall and both fall apart on a Victorian one, where the gap you've just created behind the plasterboard becomes the problem you spend the next five winters looking at. So the useful question isn't which method is better. It's what's behind the wall.
What actually separates dry lining from plastering?
Dry lining means fixing plasterboard to a wall and finishing the joints. Plastering means applying a wet undercoat and a finish coat directly to the masonry. The plasterboard route splits three ways: bonded to the wall with adhesive dabs (dot and dab), screwed to timber battens or metal furring channels fixed to the wall, or screwed to a stud frame that stands clear of the masonry entirely.
Wet plastering is usually a two-coat job. A gypsum undercoat such as Thistle Hardwall or a bonding coat goes on first to build out the surface, followed by a 2mm to 3mm finish coat. The finished wall is a continuous, dense, solid-feeling surface bonded to the brick. Dry lining gives you a flat surface much faster, because there's no drying time between coats, but it gives you a hollow one. Every difference that follows comes from that single fact.
Why does the wall behind decide it, and not the programme?
Because the void is either harmless or it isn't, and that depends entirely on the masonry. Behind a modern cavity wall, the inner blockwork leaf is already warm and dry, protected by the cavity and its insulation. A 10mm air gap behind the plasterboard changes nothing. Behind a 215mm solid brick wall with no cavity at all, that same gap sits directly against cold, sometimes damp masonry, and warm room air will find its way into it.
That air movement has a name. Thermal bypass, and Historic England describes exactly what it does: air circulating behind a lining renders the lining ineffective and risks warm moist air condensing on the external wall where nobody can see it. A dry lining installed to make a room warmer can measurably fail to do so. The speed and cost argument never touches any of this, which is why it's such a poor basis for the decision.
What should go on a pre-1920 solid brick wall?
A battened or independent system, not dabs. Solid brick was built to absorb moisture and release it, and the internal plaster was part of that. Bond plasterboard straight onto it and you get three predictable defects: cold bridging through the adhesive dabs themselves, which conduct far better than the air around them; thermal bypass through any unsealed part of the void; and dark patching on the finished wall, where dust in the circulating air deposits on the cooler strips of board and gradually prints a map of the dabs onto your paintwork. Add any moisture in the brickwork and you have a cold surface trapped behind an unventilated gap, which is the standard recipe for mould. If the wall is already showing tide marks or salting, you're looking at a damp problem rather than a finishing problem, and it's worth understanding what damp treatment costs before anyone orders boards.
The better specification is timber battens or metal furrings fixed mechanically to the brick, with a continuous perimeter seal so the cavity behind is closed rather than open to room air, or an independent metal stud set slightly off the wall. Both let you run services without hacking into brick, and both give you somewhere to put insulation. That's usually the real reason people dry line an old solid wall in the first place, and it's a job with its own rules: insulating a solid brick wall from the inside brings in Approved Document L, dew point calculations and a set of moisture risks that ordinary dry lining doesn't carry.
What about a cavity wall?
Dot and dab is the default here and it's a sound one. Most houses built after about 1930 have a cavity, and the inner leaf is blockwork that's dry, warm and reasonably flat. Adhesive dabs on a cavity wall inner leaf have decades of successful use behind them, they're quick, and they absorb the small deviations in blockwork that would otherwise need a thick undercoat to correct.
Two details still matter. The perimeter band of adhesive should be continuous, around the full edge of every board and around every opening, because a broken perimeter is what lets air loop behind the lining. And on a separating wall between two dwellings, the lining is part of the tested fire and acoustic specification under Approved Documents B and E, so you follow the detail that was tested rather than defaulting to dabs because the rest of the house is dabbed.
What about new blockwork in an extension or after a knock-through?
New blockwork is the easiest case, and here dry lining genuinely is faster and cheaper without a catch. The blocks are dry, laid flat, and there's no existing finish to make good. Dot and dab straight onto aircrete or dense concrete block is standard practice, and the wall will be ready to decorate in a fraction of the time a wet plaster finish would take to dry out.
The one place people get caught is the junction. New steels, new lintels and the cut edges where new work meets old are where board lines crack, because the two sides move at different rates and dry at different rates. A plasterer will bridge that junction with scrim and a proper skim; a dry liner working to a tape and joint finish may not. Worth agreeing before the boards go up, not after the first crack appears.
What do you do with existing lath and plaster?
If the lath and plaster is sound, leave it and repair it. Tap it. If it rings solid and doesn't flex, the plaster keys are still gripping the laths and you have a wall that's better than anything you'd replace it with: thicker, denser, quieter, and already carrying any cornice, picture rail or arch detail you'd otherwise lose. A skim coat over the top, after the surface is stabilised, gives you a flat modern finish for a fraction of the disruption. Renovating original plaster is nearly always the cheaper outcome once you've priced the alternative honestly.
If it's blown, the choice is real. Stripping back to the laths and rebuilding in three coats is slow, messy and skilled. Overboarding, which means screwing plasterboard through the old plaster into the timber studs or joists behind, is faster and keeps the mess down, but it buries the original surface, thickens every reveal and leaves you guessing where the fixings are in five years' time. Dot and dab over lath and plaster is the worst of the options, because the adhesive has nothing reliable to bond to. Where the original detail is worth keeping, replastering a room in hardwall and skim is the route that preserves it.
Why is hanging anything on a dot and dab wall such a nuisance?
Because the plasterboard sits 10mm to 25mm proud of the masonry, and standard plasterboard fixings are designed for a hollow stud wall, not a hollow gap in front of a solid one. The packet says the anchor holds 25kg. On a dot and dab wall it often doesn't, because the load has to reach the brick or block behind, and a toggle spinning in a void does nothing useful. Worse, tightening a bracket down onto the board crushes it, so the fixing feels tight while the board slowly compresses and the bracket droops.
The fix is to bypass the board entirely. A sleeve anchor long enough to cross the void and bite 50mm to 60mm into the masonry, with a rigid tubular spacer sized to the gap so the bracket clamps against steel rather than paper, or a proprietary dot and dab fixing such as Corefix that does the same job in one component. This matters most for the heavy things people forget to plan: radiators, wall-hung basins and WCs, kitchen wall units, TV brackets. If you know where those are going before boarding starts, the answer is to fix a timber or ply pattress into the void at those positions and be done with it.
How is each one specified, and what changes the price?
Dry lining is measured and quoted per square metre of board, but the square metre rate is doing a lot of hidden work. Board type changes it: standard wallboard, moisture resistant board for bathrooms and kitchens, fire board where Approved Document B demands it, acoustic or high density board where you're chasing sound reduction, and thickness at 12.5mm or 15mm. Fixing method changes it, because battening and framing take considerably longer than dabbing. And the finish changes it: a tape and joint finish, where only the joints and screw heads are filled, is a different trade and a different price from a full skim coat over the whole board face.
Wet plastering is priced by area too, but the variable is the number and thickness of undercoats, which depends on how far out of true the existing masonry is. A wall that needs 15mm of hardwall to bring it flat is a different job from one needing 8mm. Ask for both routes to be priced against the same written scope and the comparison becomes honest quickly, which is broadly how dry lining is specified and priced on a real project rather than in a generic comparison table. One myth worth killing while we're here: plasterboard is not the flammable option. Plasterboard is the standard fire lining material in British construction, and fire resistance comes from the tested board and frame system, not from the material on its own.
Frequently asked questions
Is dry lining always cheaper than plastering?
No. It's usually cheaper on flat, dry blockwork because it needs less labour and no drying time. On a solid wall that needs battening, sealing and insulating, the labour content climbs and the gap closes. On sound lath and plaster, a repair and skim is normally the cheapest option of all.
Can you plaster over dry lining?
Yes, and it's common. A 2mm to 3mm skim coat over plasterboard gives a continuous finish with no visible joint lines, which is the standard specification in most UK homes. The alternative, tape and joint, is more common in commercial work and leaves a flatter but slightly less forgiving surface.
Does dot and dab cause damp?
It doesn't create damp, but it hides it and makes it worse. On a solid wall, the void behind the board stays cold and unventilated, so any moisture reaching it condenses and stays there. The first sign is often mould appearing at skirting level or in a corner long before anything shows on the face of the wall.
How long before you can decorate?
Dry lined and taped walls can be decorated within a day or two. A skim coat over board usually needs three to five days. Fresh hardwall and skim on masonry needs the undercoat to dry through before skimming and then a further period before painting, which realistically means two to four weeks in a cold house, and a mist coat first regardless.
Find out what your project will cost
Getting one price for dot and dab and another for a battened system tells you nothing, because they aren't the same job. Beams gives you up to three comparable quotes from vetted London builders, all priced from the same written scope, so you can see what each method actually costs on your walls.
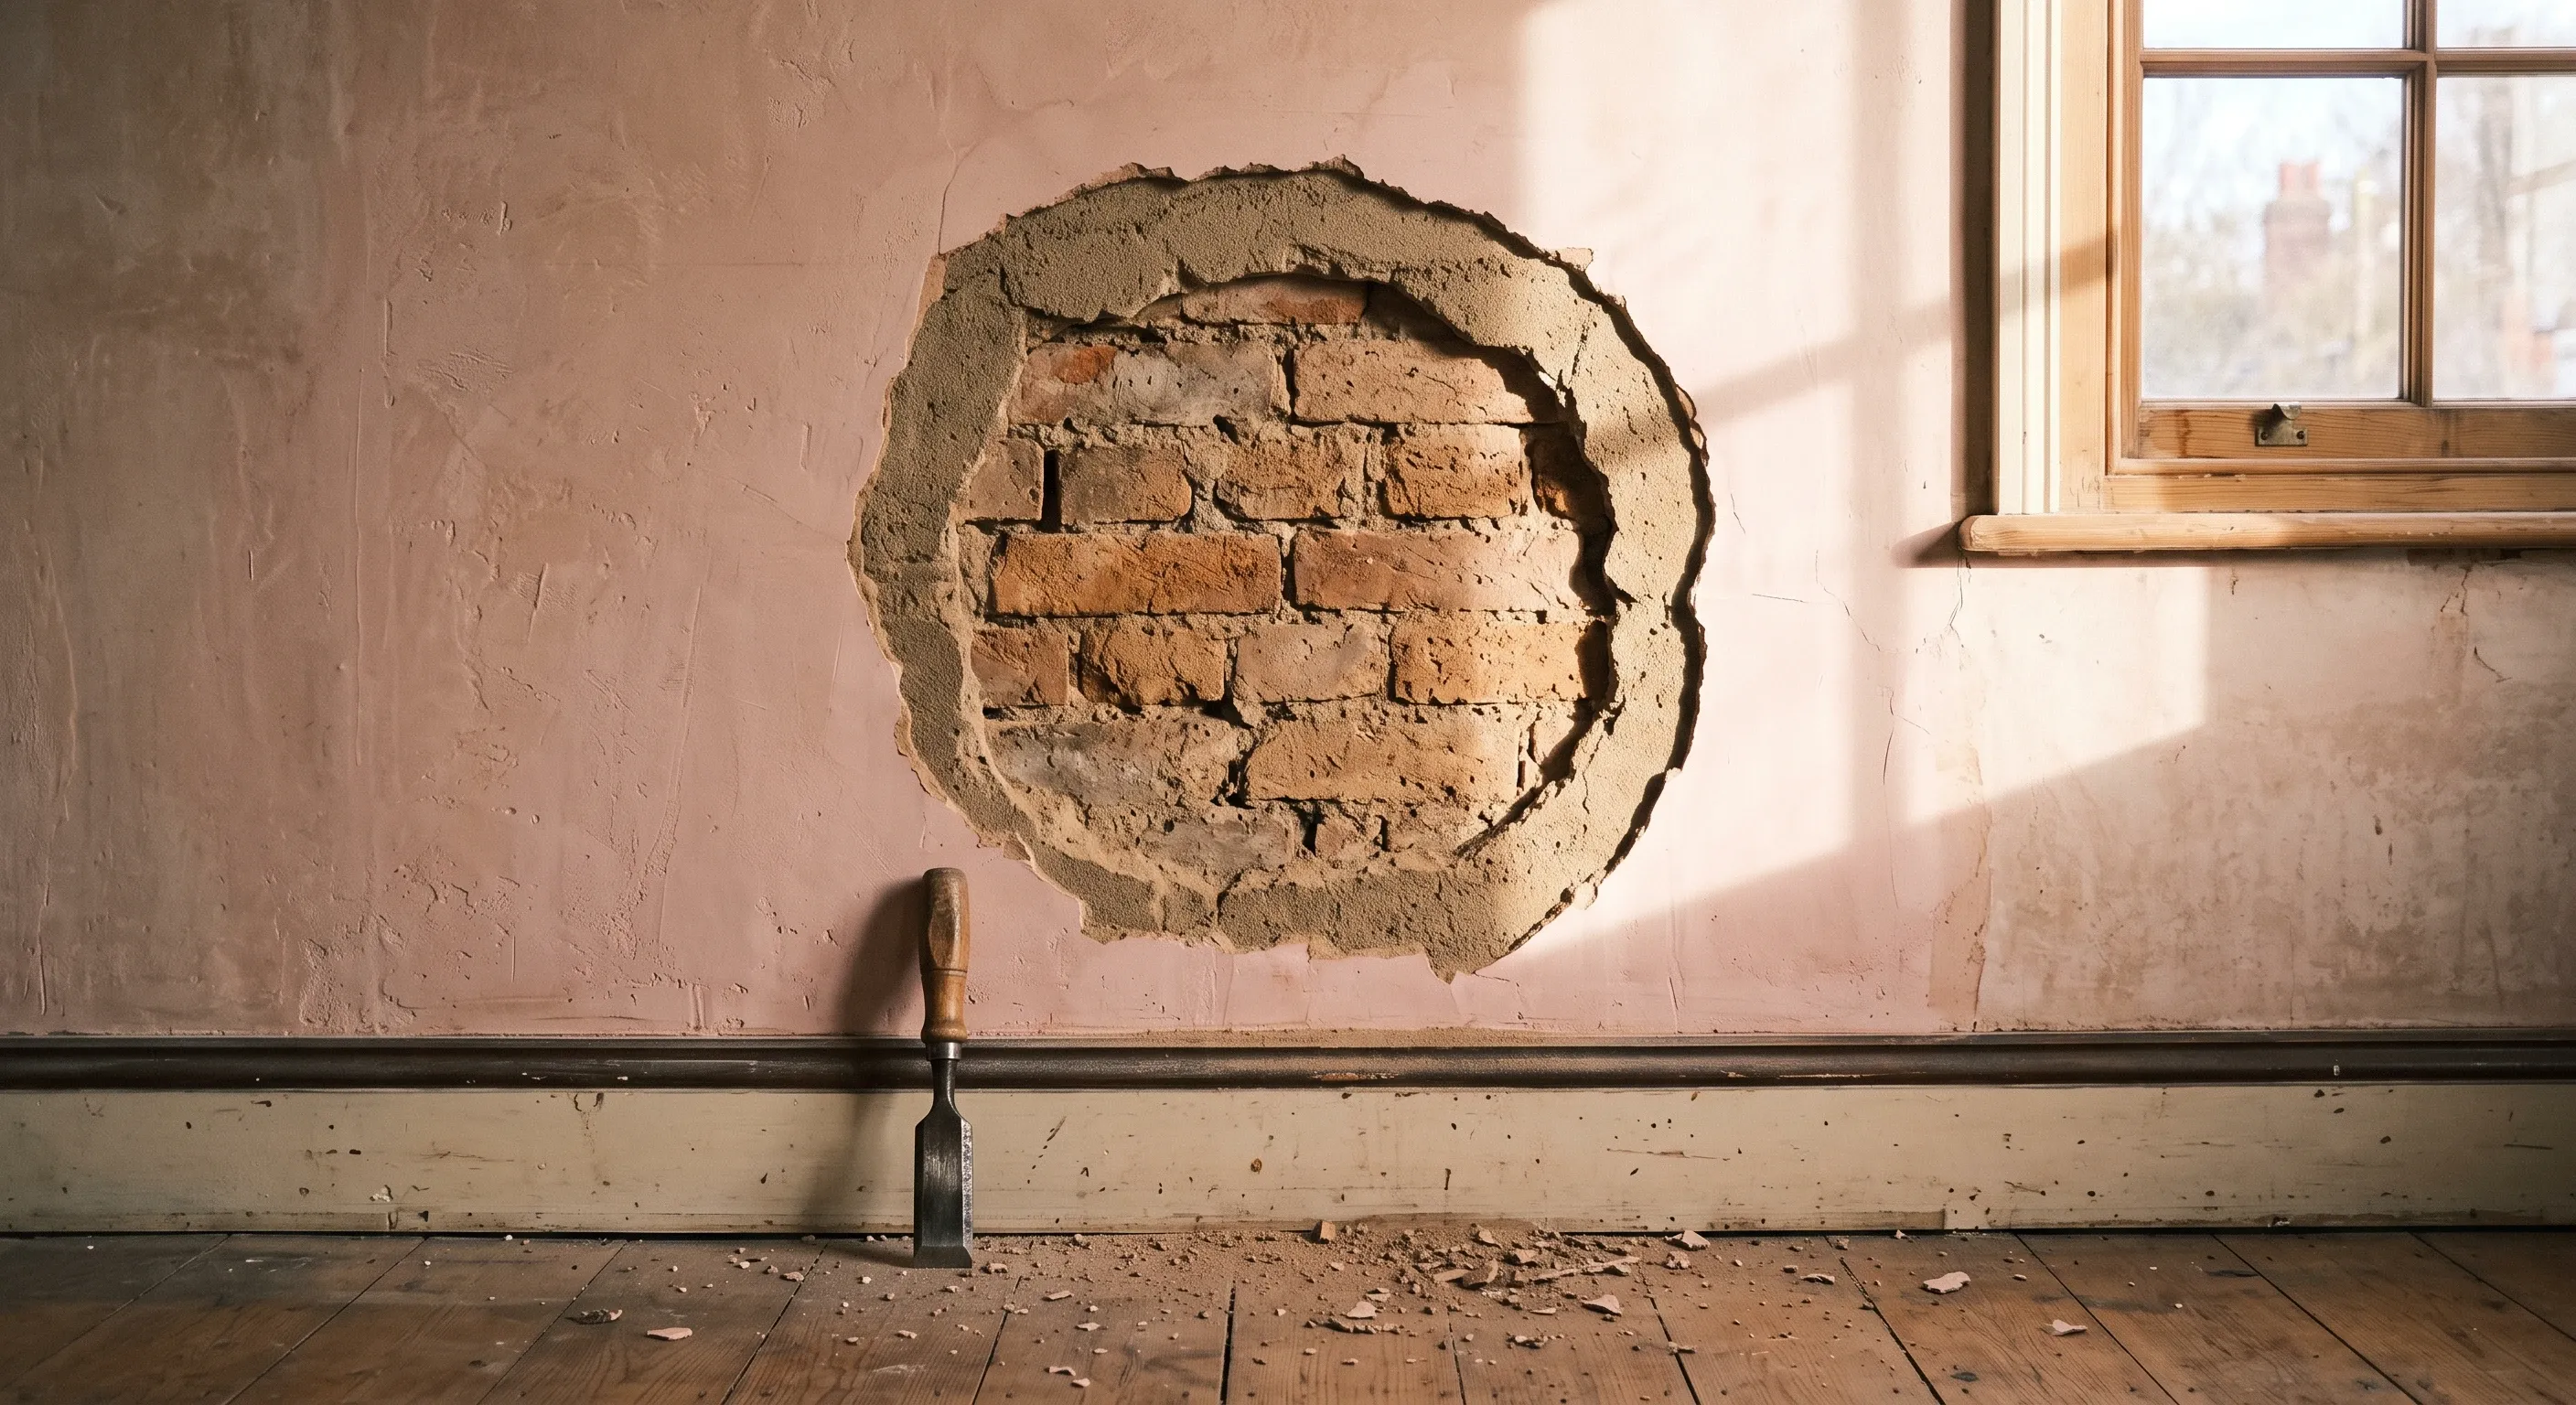
A proper diagnosis for blown plaster: the tap test read correctly, skim versus backing coat failure, and what crack width and shape really mean.

How to decide between repairing, overboarding or removing a lath and plaster ceiling, including testing the key, the asbestos question and the mess.
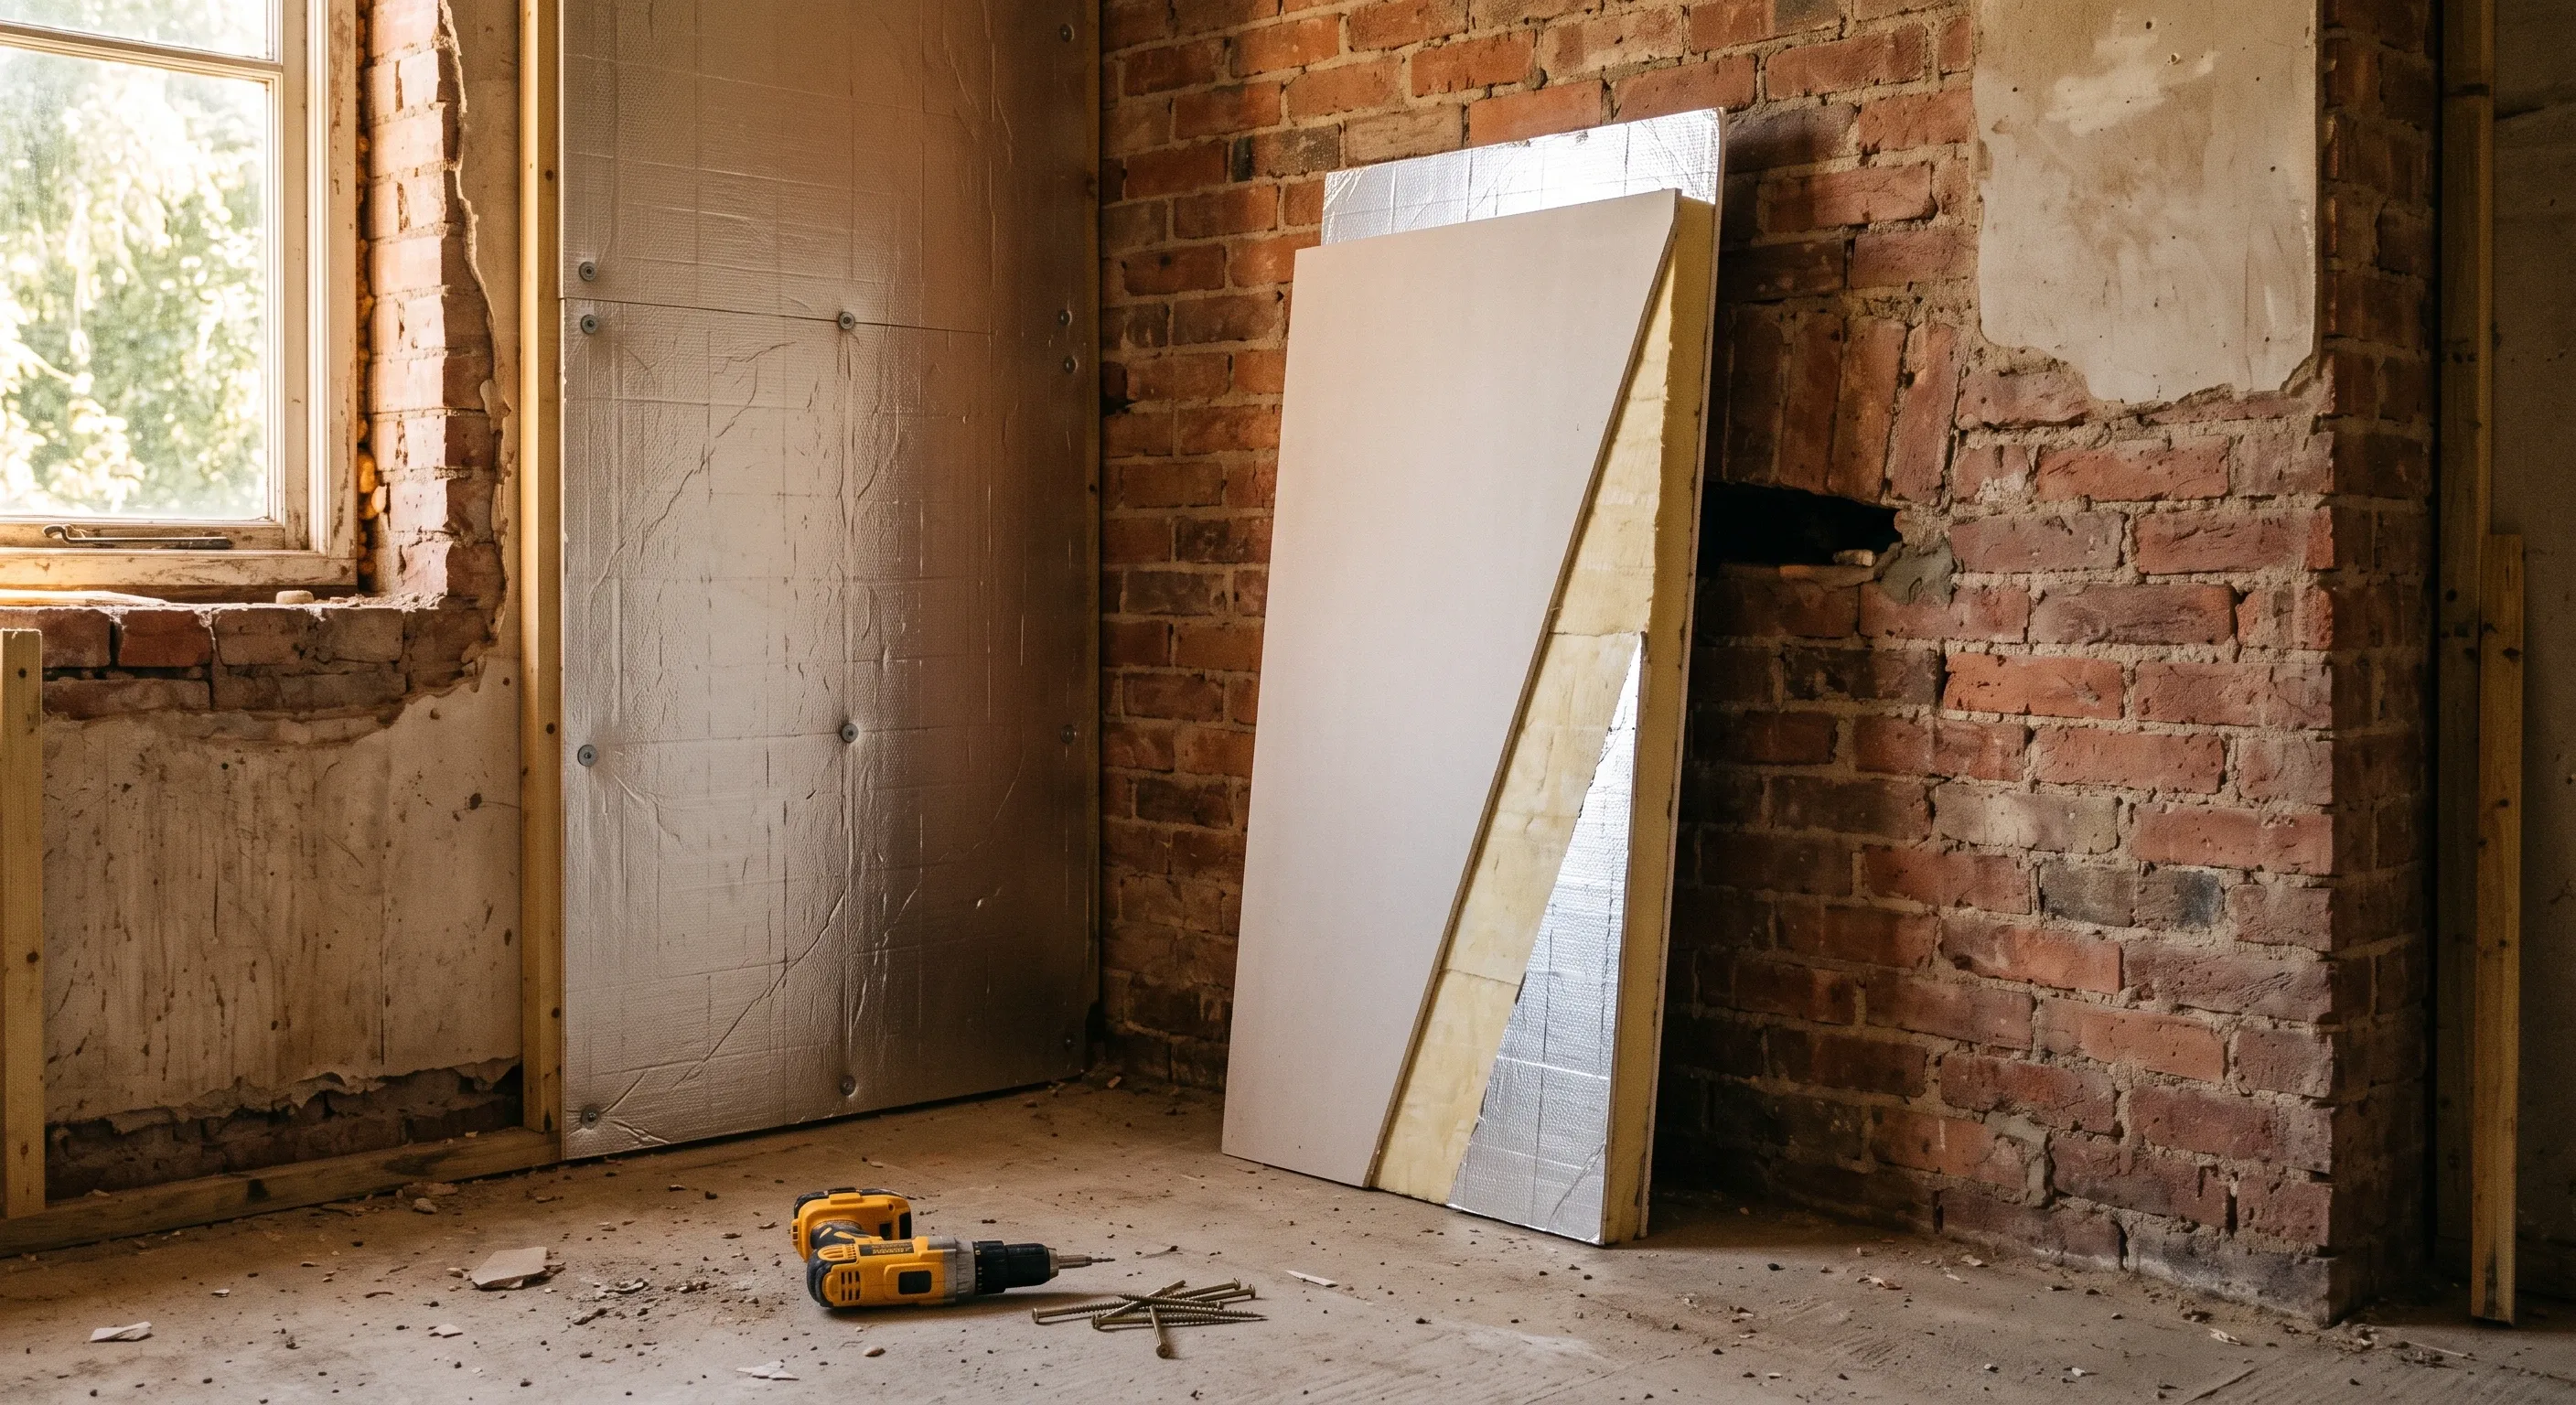
Internal wall insulation on solid brick: the Part L trigger, the 0.30 W/m2K target, why the dew point matters, room depth lost, and where it goes wrong.