Bathroom lighting zones & IP ratings (UK): plain-English guide
Bathrooms are small, steamy rooms where metal, glass and water compete for space—so the electrics have a few extra rules. These rules keep you safe and make sure your lighting works beautifully at every time of day.
Two ideas do most of the heavy lifting:
- Zones — how close a fitting is to water
- IP ratings — how splash-proof a fitting is
Once you get those, choosing the right lights becomes much simpler.
The simple idea behind “zones”
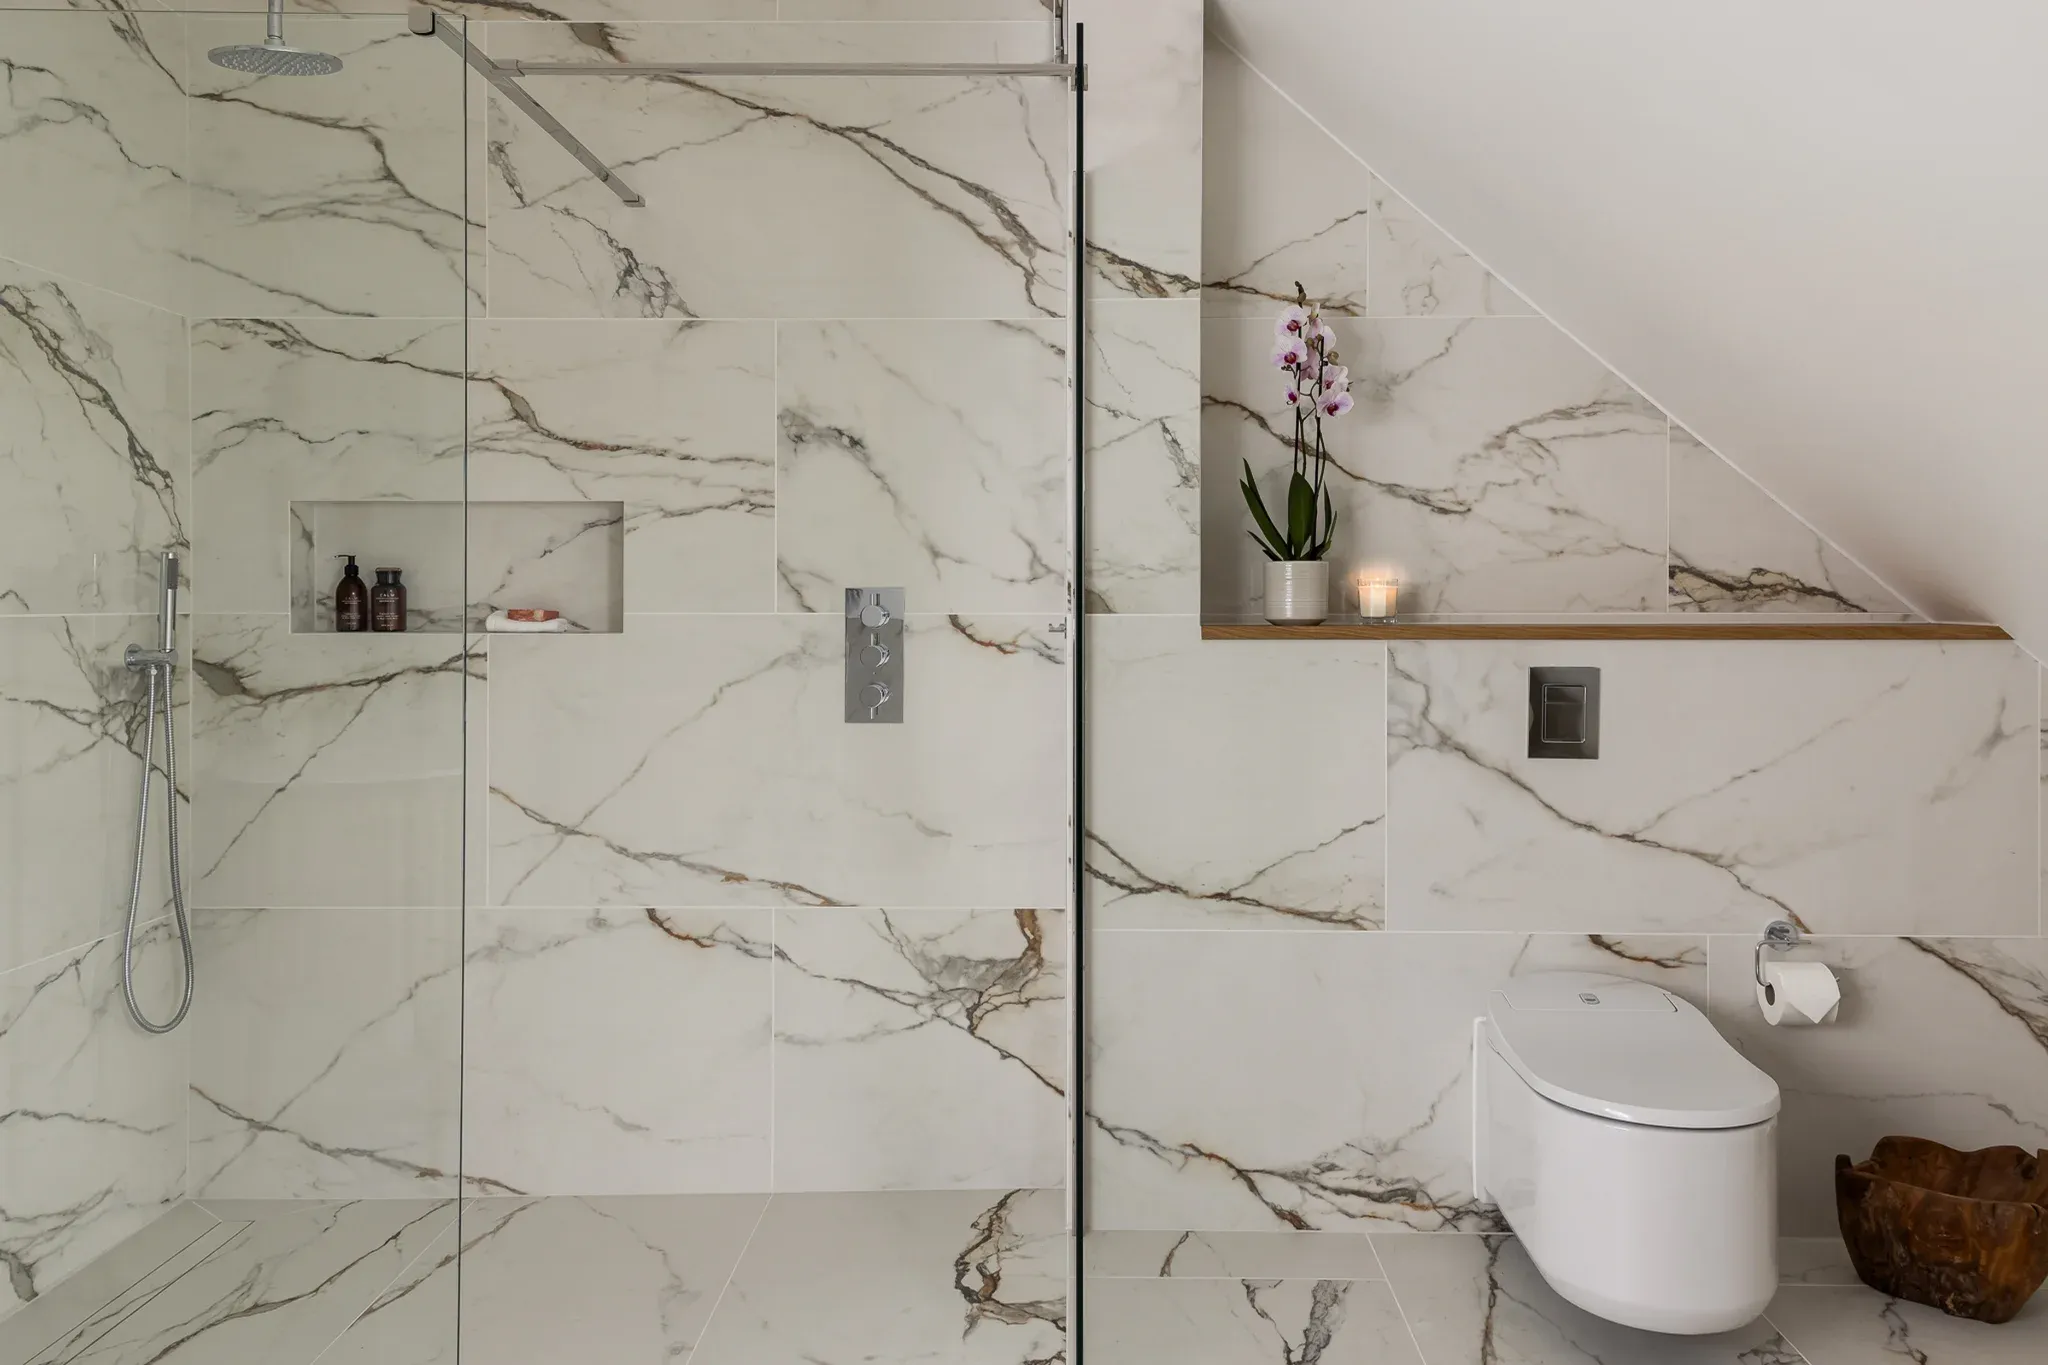
Picture invisible boxes drawn around the bath or shower.
- Zone 0 is the area that actually holds water—inside the bath or shower tray. Anything here must be designed for full immersion, use extra-low voltage, and have an IPX7 rating. Most homes don’t put lights in Zone 0 unless the product is explicitly made for it.
- Zone 1 is the space directly above the bath or shower up to 2.25 m from the finished floor—or up to the height of the fixed shower head if that’s higher. In a walk-in without a tray, imagine a 1.2 m radius from the shower head. That bubble is Zone 1. Here, you’ll need lights rated at least IPX4 (splash-proof). Designers often go for IP65 above showers—it stays cleaner and handles steam better.
- Zone 2 extends 60 cm horizontally beyond Zone 1 at the same height. Again, look for IPX4 or better, especially near basins or if you expect direct spray.
- Outside the zones is simply the rest of the room. Regular indoor fittings are allowed here—just make sure they’re suitable for humid spaces.
Quick note on switches and sockets: Wall switches are best placed outside the bathroom (or use a ceiling pull-cord). Standard sockets don’t belong in bathrooms—opt for a shaver socket or dedicated mirror unit with a built-in supply.
What IP ratings really mean (in one breath)
"IP" stands for Ingress Protection. It’s a rating that tells you how well a fitting is sealed against dust and water.
You only need to focus on the second digit:
- 4 = splashes
- 5 = water jets
- 7 = temporary immersion
If you see IPX4, the "X" means the dust part wasn’t tested—but it meets the standard for water splashes.
The rule: Match the rating to the kind of water the fitting will meet—not the prettiest image on the box.
What to put where (so it works and looks right)
Over a shower – Choose a recessed or surface-mounted fitting clearly marked for Zone 1, with the right IP rating (IP65 is a safe bet).
Around the vanity – Position sconces outside of zones where possible to maximise design freedom. Or choose a mirror with integrated lighting certified for Zone 2.
General lighting – Avoid a scatter of downlights. A calm ceiling glow + shadow-free mirror light + gentle night light is a better recipe.
If you’re rethinking the shower itself, how you heat water impacts comfort and consistency. Our comparison of electric shower vs combi boiler showers can help you choose before you lock in any electrics.
Ventilation and electrics work together
Even a perfect lighting scheme falls flat if steam lingers. That’s why we always size and position the extractor fan alongside the lighting plan.
We will:
- Place the isolator switch in a sensible, dry spot
- Make sure the fan runs long enough to clear moisture
- Choose fittings that hold up to humidity over time
If your bathroom leads off an open-plan space, the principles from our kitchen ceiling lights guide apply here too: defined task lighting, soft ambient lighting, and thoughtful switching for a room that adapts to your day.
Safety, paperwork and painless sign-off
All bathroom electrics must be protected by a 30 mA RCD—that’s the fast-acting safety switch that protects you if a fault occurs.
If your consumer unit is looking a bit dated, we’ll flag it early and upgrade it before any tiling begins.
Bathrooms are a legally defined special location, so electrical work here is regulated. Always use a registered electrician who can certify the work. That certificate should live with your house documents—it matters to insurers, future buyers, and you.
Common pitfalls we design out
Decorative fittings without proper IP rating — They may look lovely, but if they sit too close to the shower, they’ll fog up or tarnish.
Too many ceiling spots — Often creates glare. Two or three well-placed fittings, paired with a good mirror light, usually looks and feels better.
Forgetting the fan — It’s not glamorous, but it stops mould from moving in. We design ventilation as part of the lighting plan so the whole room works.
Planning a bigger refresh?
Lighting decisions should follow layout—not the other way around. If you’re:
- Swapping a bath for a walk-in
- Moving the shower screen
- Adding a niche or alcove
- then where you place fittings, fans and switchgear may need to change too.
Our guide to bath vs walk-in shower helps you picture the daily routine as well as the look. And if you're after a joined-up plan where lighting, ventilation and finishes are coordinated from day one, head to our bathroom renovation page and tell us how you live — we’ll take it from there.
Ready to start your project?

Planning a walk-in shower? This UK guide gives the honest minimums, comfortable sizes, doorless vs with-door rules, opening widths, splash control, tray formats and layout sequencing—so your shower feels great and keeps the floor dry.
.webp&w=3840&q=100)
Discover 9 small bathroom renovation ideas for London homes. Smart layouts, lighting and storage tricks to make compact spaces feel bigger, brighter and calmer.

Discover 8 practical and affordable bathroom layout ideas to maximise space, style, and comfort. From storage to lighting, see how to design a bathroom that works for you.
.jpg&w=3840&q=100)
UK home rewiring costs explained: realistic price ranges, what affects price and how to budget for a safe, compliant electrical upgrade.
Honest guide to wet rooms in UK homes. See costs, pros and practical tips to decide if this space-saving upgrade suits your bathroom.